
Whether seeking signal reception or connecting your premises to electricity, knowing the process of exterior wall cable pass through is vital.
You must plan, know the safety rules and building codes, and have the necessary tools and materials.
Additionally, you must be familiar with the installation steps and cable protection techniques for a reliable and durable connection.
Fortunately, I will bring you everything you need to know to ensure you achieve a successful wiring initiative.
Table of Contents
- Required Tools and Materials
- Do You Require a Conduit for Outdoor Wiring
- Which is Better Between Flat and Round Ethernet Cable
- How to Pass Ethernet Cables Through Exterior Wall
- Safety Tips for Exterior Wall Cable Pass Through
- Conclusion
Required Tools and Materials
While the tools and materials you need depend on your project and building guidelines, here are some common ones:
Tools
- Drill bit: Ensure you have a suitable-sized drill bit to bore the holes on the wall where the cable will pass through.
- Fish tape: Useful for pulling the wire through the wall. You may also use a conduit mouse or an ell puller, depending on how your conduit runs.
- Cable ripper: You use this tool to rip the cable’s outer cover to expose the wires.
- Cable clamps: A necessary tool for hooking the cable to the wall, thus preventing its movements
- Electrical tape: This tool seals the cable to protect it from moisture and other hazards
- Silicon caulk: It seals the cable entry holes on the wall to add more protection from moisture
- Utility knife: For cutting the cable when necessary and other similar tasks.
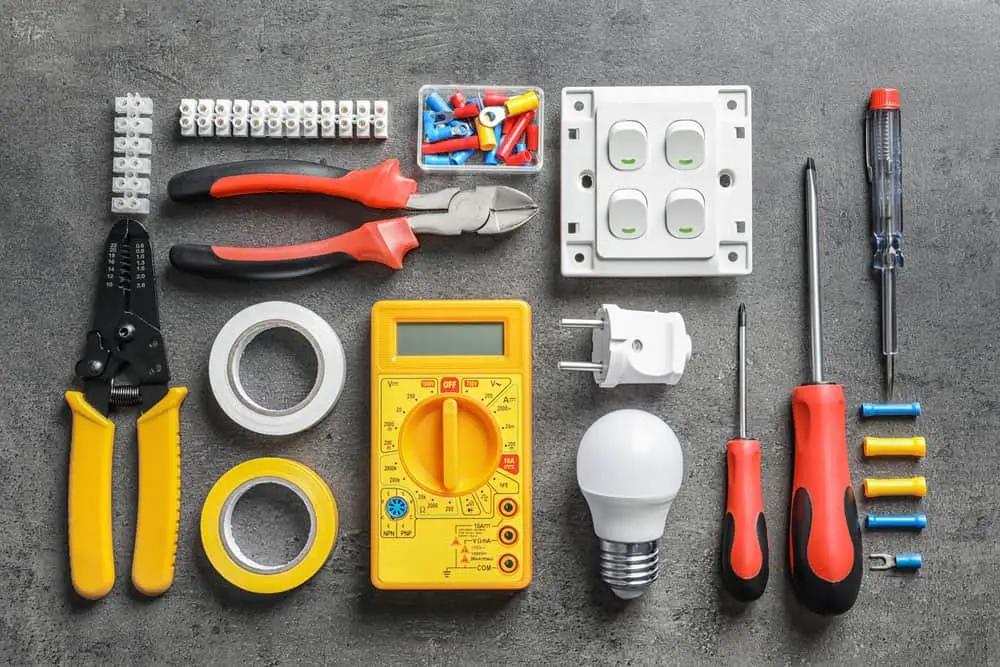
Cable installation tools
Materials
- Cable: It should be long enough to reach your target without tension and suitable for outdoor use.
- Conduit: According to building rules, you will need a conduit for outdoor wiring. PVC is the most common due to its affordability, corrosion resistance, and flexibility.
- Conduit hangers: Useful for hooking the conduit firmly to the wall
- Drywall anchors: For securing the device box to the wall in case you are dealing with a drywall
- Wall jacks: Necessary when you need a new connection point for the cable
- Cable connectors: You need these to connect your cables to existing lines.
Do You Require a Conduit for Outdoor Wiring
The short answer is yes. You will need a conduit to protect your cables from harsh environmental conditions. Generally, here are a few reasons why a conduit is necessary:
- It is a casing to protect your cables from weather and animals, thus enhancing their lifespan
- They offer safety from electric shock in the case of electric cables.
- Conduits are a cable path that ensures seamless future maintenance and upgrades
- Lastly, it is a requirement from most building regulations.
Which is Better Between Flat and Round Ethernet Cable
You will notice Flat Ethernet cables are thin, which ensures flexibility and concealability.
Therefore, I would use flat ethernet cables for a low-profile installation when you have less space.
On the other hand, round cables look thick because of the big layer of the outer cover.
According to my research, they are used mostly for outdoor installation dues to their thick insulation that can withstand harsh environments.
Regarding performance, you will find that both cables are excellent at handling speedy signals.
However, the round cable edges the other when considering its strong shielding.
For this reason, round ethernet cables can withstand electromagnetic interferences that result in signal loss.
All in all, the one which is better for you may not please your neighbor due to the specific needs each one of you has.
For concealability and low-profile installation, I recommend the flat one. While if you are looking for something that will serve you for years installed outdoors, go for the round ethernet.
How to Pass Ethernet Cables Through Exterior Wall
Installing an ethernet cable through a wall is where the heavy lifting is due to the work involved. Luckily, armed with a few tools and following my simple steps, you can do it.
Identify the cable path.
I’m sure you want your cable to follow a certain path without interfering with other structures inside your wall.
For example, you want to avoid making holes in places with HVAC ducts and electrical wiring.
After all, it can be tiresome and extremely expensive to redo your plumbing or wiring again in case they break.
You may use a wall scanner to identify where these former installations are before drilling.
Get the right cable
In this step, you are supposed to get the most appropriate cable for outdoor usage. Look for a cable that can withstand moisture and ensure it is long enough to reach your target.
Install an outdoor box.
At some point, you must connect your cable to the ISP, where the connection box comes into play.
It’s a safe connection point while protecting the cable from the elements.
Ensure you choose a box rated for outdoor usage before installing it on the outside wall where you intend to pass the cable.
Drill the appropriate holes.
After identifying your installation path, it’s time to use a drill to bore in at the starting point of your route.
Use a drill bit that is the same size as your cable. Additionally, I recommend angling your hole toward the ground to prevent rain from entering.
Insert your cable through the hole.
Now insert your cable through the hole from inside your house. Use fish tape or a stiff wire to guide the ethernet cable smoothly through the hole.
Finally, ensure you leave some allowance for future connections.
Route the cable along the wall.
This step guides your cable along the wall to your target location.
Here, your cable clamps or other appropriate fasteners can help to secure your cable on the wall and prevent sagging.
Mount a wall jack
After the cable installation, you will need a termination or connection point to connect your router.
It is the point where you use an appropriate wall jack inside your house.
I would avoid a direct connection to the router to ensure the efficiency and durability of your installation.
Seal the hole
When done, use a silicone caulk or other waterproof sealant to seal the cable hole you drilled. Doing this ensures you keep your wall safe while protecting the cable from water.
Connect the cable to your device.
Once you install the ethernet cable, it’s time to connect your network devices and test the connection.
Consider performing a network test to verify speed and connectivity.

Fixing a connector to a cable
Safety Tips for Exterior Wall Cable Pass Through
Since safety is at the top of your list during exterior wall cable installation, I will discuss some safety tips for secure installation.
Plan and assess the wall.
As we said earlier, you need to know where current installations are on your wall. As such, plan and assess your wall before the installation date.
Assessing ensures you do not destroy pipes, studs, or electrical wires when drilling, which can be costly.
Avoid power cable
While you may be tempted to use power cables as a substitute, know that it violates electrical regulations.
Therefore, avoid them and use NEC- compliant options like power bridge devices for safe outlets.
Keep a safe distance from power lines.
You should keep at least a 6-inch gap between low-voltage cables and the electrical line.
Doing so prevents electrical fire risk, electromagnetic interference, and electrical damage.
Bundle cables together
In my fourth safety tip, I suggest you bundle low-voltage cables for a seamless and secure installation process.
You should also use high-quality and well-insulated cables to prevent signal interference.
Inspect and test thoroughly.
The final tip is to ensure no cuts or tears in your cable before you install them.
You can do this by inspecting them physically and using testing gadgets to guarantee quality.
This process ensures durability and optimal performance.
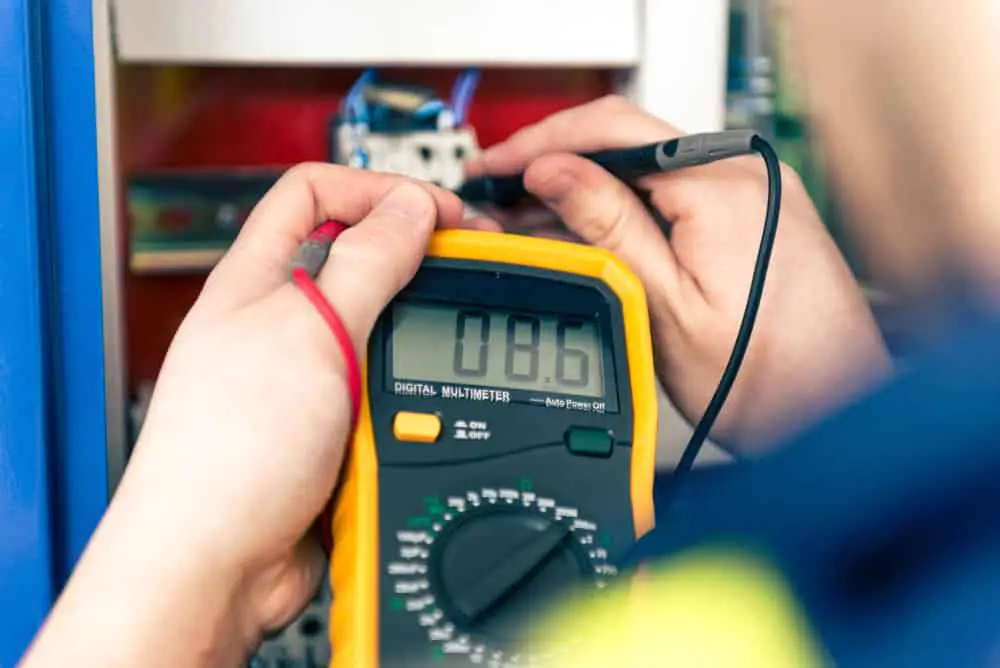
Testing a cable
Conclusion
While cable installation through a wall can be demanding, the above article can help you succeed.
Remember always to prioritize safety and ensure you use approved and high-quality cables. If you need help with the installation, consider hiring a professional.
