
How Big is a Starlink Dish? Elon Musk’s SpaceX satellite internet project, Starlink, has become a massive success with over a million subscribers.
The Starlink constellation comprises satellites that transmit internet signals worldwide, especially in rural regions.
Users receive an internet connection using a Starlink dish they mount on their property.
You may be asking yourself, how big is a Starlink dish? In this article, we will get into the details about the size of a Starlink antenna. Moreover, we will look at the best location to place it and the direction to point the dish during DIY installations.
Table of Contents
- Starlink Size
- Starlink orbital satellite size
- How to choose the right location for your Starlink
- What is the best direction to point your Starlink dish?
- Conclusion
Starlink Size
Starlink has a constellation of satellites launched into the low-orbit earth, which can provide high-speed internet with low latency. A Starlink satellite dish is essential hardware to channel the connectivity from the satellites in the sky to compatible devices.
SpaceX has two generations of satellite dishes – the first-generation Starlink dishes and the second-generation models. There is a significant difference in their sizes and their shape.
The first-gen model features a circular shape, while the second-gen hardware is rectangular. Although they are different satellite dishes, it does not affect their performance.
First generation
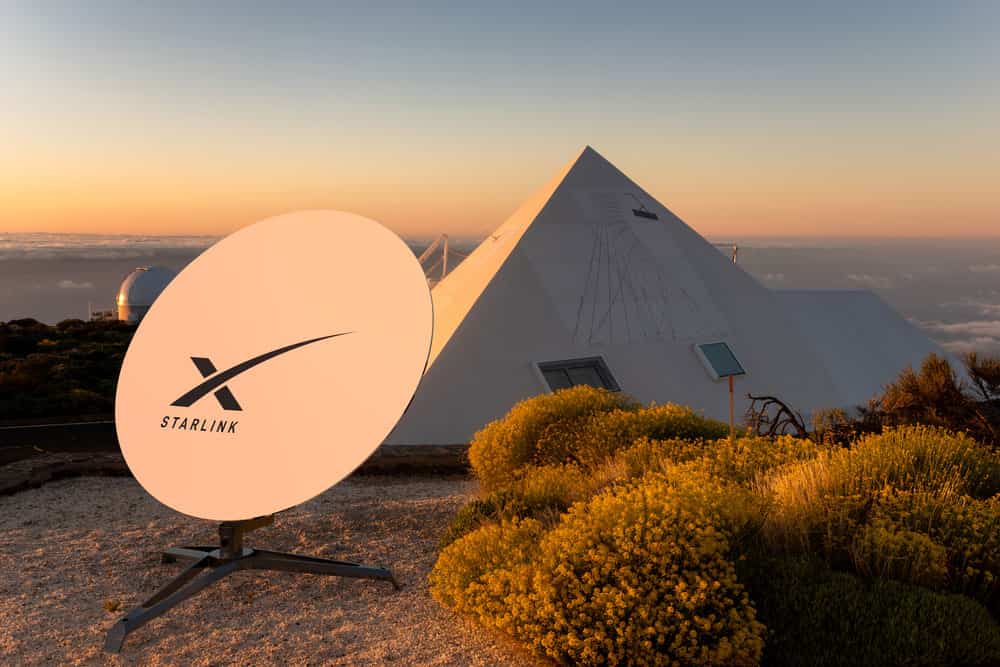
First gen Starlink satellite dish outside a tent
The first model of the Starlink dishes came out in 2020. The first-generation Starlink has a Wi-Fi router and an ethernet port for wired connections. Its circular shape has a diameter of approximately 23.2 inches or 58.9cm and weighs 16 lbs or 7.3 kg.
It has a mast with a diameter of 1.4 inches or 3.6cm. The mast weighs 25.4 inches or 64.5 cm.
The satellite dish is IP54 rated, which is suitable for outdoor installation. It can withstand harsh temperatures between -220F to 1220F (-300C to 500C).
For outdoor setups like on rooftops or in your backyard, mounting accessories such as tripod stands are purchasable in Starlink shops. The tripod is 11 inches or 28cm long and 4 inches (10cm) wide.
Second generation
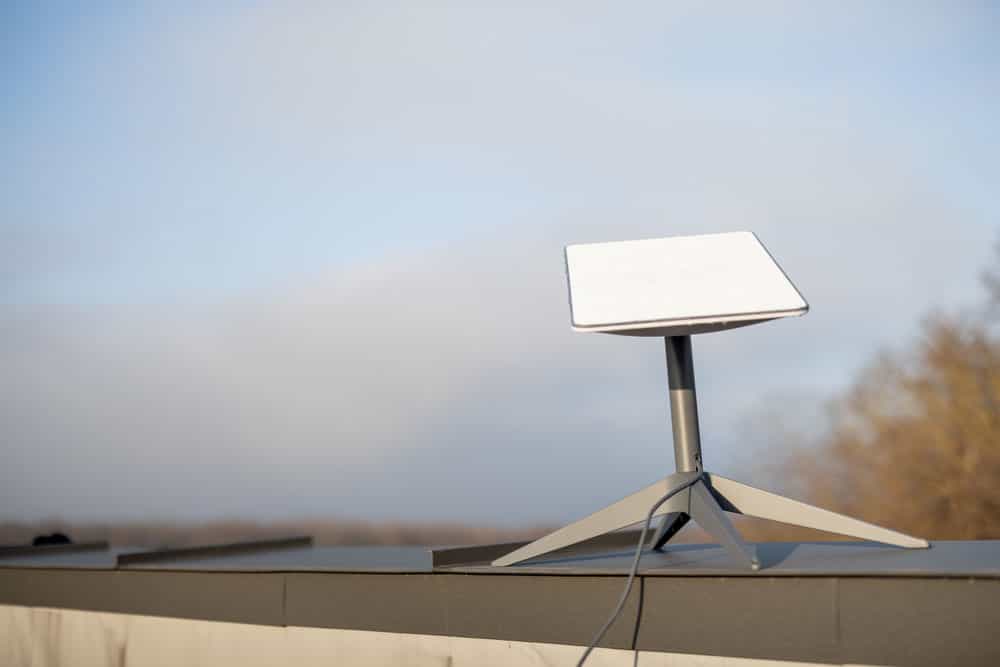
The second generation Starlink satellite dish on a roof
In 2021, SpaceX adjusted the satellite dish dimensions and design to improve the technology and expand their satellite constellation. The new design features a rectangular shape with 19 by 12 inches or 50 by 30 cm dimensions.
It is lighter than the first gen dish and weighs 9.2 lbs (4.2kg). The mast diameter is slightly smaller than the first-generation mast at 1.3 inches (3.6 cm).
The second-generation satellite dish is also IP54 rated. It is weatherproof and can withstand outdoor temperatures between -220F and 1220F or -300C and 500C.
It has mounting options available it includes a tripod that measures 22 inches long, 12.9 wide 4.9 inches high. The spacing between the mounting holes measures 21.3 inches long and 12.3 inches on the short side.
The new size and design enhance the user experience and improve the reliability and performance of the Starlink internet service. Additionally, it allows for easier installation and maintenance.
Extra features of the second-generation Starlink dish include an Ethernet port, a power-over-Ethernet (PoE) adapter, and improved thermal management.
Starlink orbital satellite size
Starlink’s orbit features 60 internet communication satellites in the constellation in a linear arrangement that moves at low altitudes on earth. The individual satellites in orbit characterize a flat panel with a solar panel.
Different satellite versions have been launched, including test and operational versions. The constellation’s first satellites, version 0.9, have a flat design with a solar panel and several high-throughput antennas to transmit signals.
They have a mass of 227 kg or 500 lbs.
More versions of the satellites have been sent into orbit, such as v1.0 and v1.5, to provide internet signals. They have slight differences in their weight.
V1.0 satellites weigh 260 kg, while V1.5 satellites have a mass of 295 kg. V2.0 is the latest version that Starlink will deploy to orbit. Its mass is 2760 lbs (1250kg), and is 23 ft (7m) long.
SpaceX has launched over 2000 test and operational satellites into space and plans to send more shortly.
How to choose the right location for your Starlink
A Starlink round dish on the roof with solar panels
After purchasing your Starlink dish, finding the right location to install it can be a problem. Whether you are installing at home, office, or RV, here are some tips for selecting the best position.
Accessibility
Ensure that the dish is in an easy-to-access location. Some areas where you can install the Stalink antenna may need to be more reachable such as on high rooftops.
Dust and debris which accumulate on your dish can affect the signal. Accessible locations make it easy to wipe off the dirt to improve satellite signal strength.
Clear Line of Sight
Starlink dishes should have a clear line of sight to the sky to receive a strong signal from the satellites. Avoid placing the dish where trees, buildings, or other obstructions may block the sky view.
Install the Starlink dish at least at a 100-degree angle facing the sky without any obstacles.
Stable Surface
Factors such as movements or vibrations of your dish can affect the performance of your Starlink dish. It distorts the signals causing a poor internet connection. Therefore, install the dish on a stable flat surface or use mounting accessories such as tripods for rugged surfaces.
Consider Climate
Despite the dish’s ability to handle harsh weather, extreme conditions hinder a stable internet connection. Areas prone to high winds, lightning storms, hurricanes, or snowfalls are unfavorable for installing Starlink antennas.
Hence, a reason to remember the area’s climate conditions when picking suitable locations to mount the dish.
Minimal Interference
If you have wireless devices, ensure the Starlink dish is away from them. Wi-Fi routers, Bluetooth speakers, or other wireless equipment emit electromagnetic waves which interfere with signal quality
. Moreover, install the antenna where there is no smoke interference.
What is the best direction to point your Starlink dish?
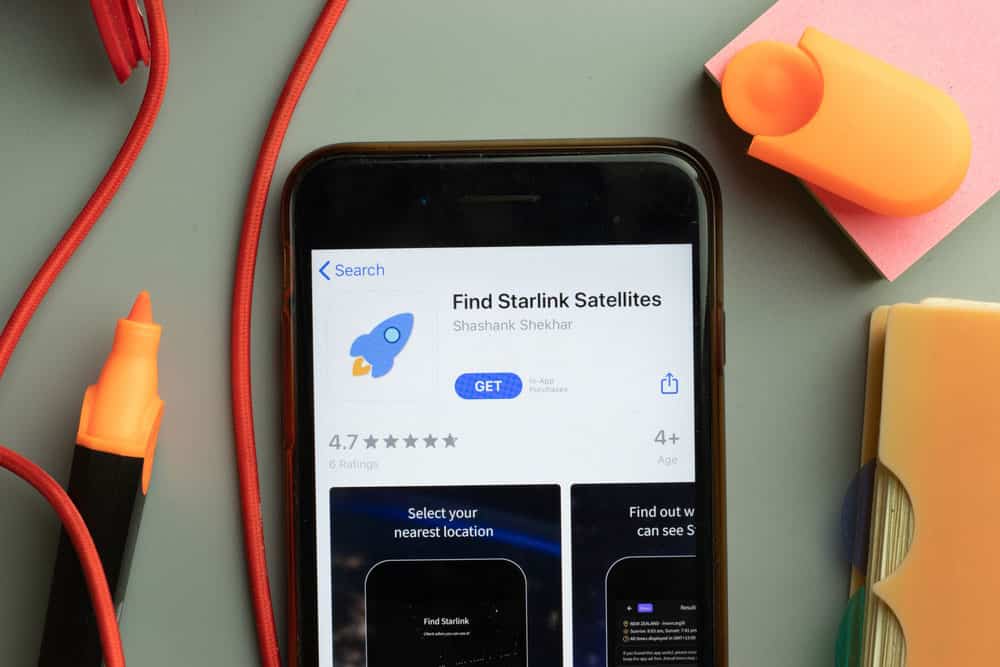
Using the Starlink mobile app to locate satellites
The optimal direction for your Starlink dish to face for the strongest internet signal possible is upward. Two things determine where you should point it.
Those are the Starlink satellites’ present orbital position and physical geographic location.
The polar orbit of the Starlink satellites rotates the Earth from west to east. American and Canadian subscribers should point their user terminals north for the best connection.
The satellites are most visible north, providing optimal signal stability and internet speeds.
.
Users should point their dishes south for areas close to the equator, such as Central America, South America, and parts of Africa. The satellites in the Starlink constellation can be visible in the southern sky in these locations.
Pole mounts will raise the dish when installing the antenna in areas with a low elevation. Here, your Starlink dish will be high enough to receive the most signals from the satellites.
In addition, you can use the Starlink app to determine the exact direction to direct the Starlink dish. The mobile application has real-time information on where exactly to point your antenna.
Also, users can get tips on where to place the dish, depending on their location. Learn more about Starlink here.
Conclusion
If you need help knowing how big a Starlink dish is, this article provides information about its dimensions. With more details about finding the right location and direction to point the Starlink dish, installations should be easy.
It offers great internet speeds with low latency and is a good investment for gaming and streaming fans.
