
How can I connect to Starlink? If you have been struggling with this query, we understand your case, as many people cannot access fast, reliable, and unlimited internet.
This problem is most prevalent in remote, rural, and war-stricken areas. Luckily, Starlink internet has been a game changer in improving the connection in the scenarios above.
So how do you access it? We’ll cover it all in this article.
Table of Contents
- What is Starlink?
- Starlink Operation Mode
- How do you get Starlink, and how much does it cost?
- Residential users
- Business User
- How can I connect to Starlink?
- Download the Starlink App
- Check For Obstructions
- How Can I Connect to Starlink: Unpack Starlink Kit
- How Can I Connect to Starlink: Dish Installation and Assembly
- How Can I Connect to Starlink: Connect To Starlink
- How Can I Connect to Starlink: Manage Starlink
- How To Access The Starlink Router Settings?
- How Can I Connect to Starlink: How To Get Support?
- How can I connect with Starlink Spacex FAQs?
- Conclusion
What is Starlink?
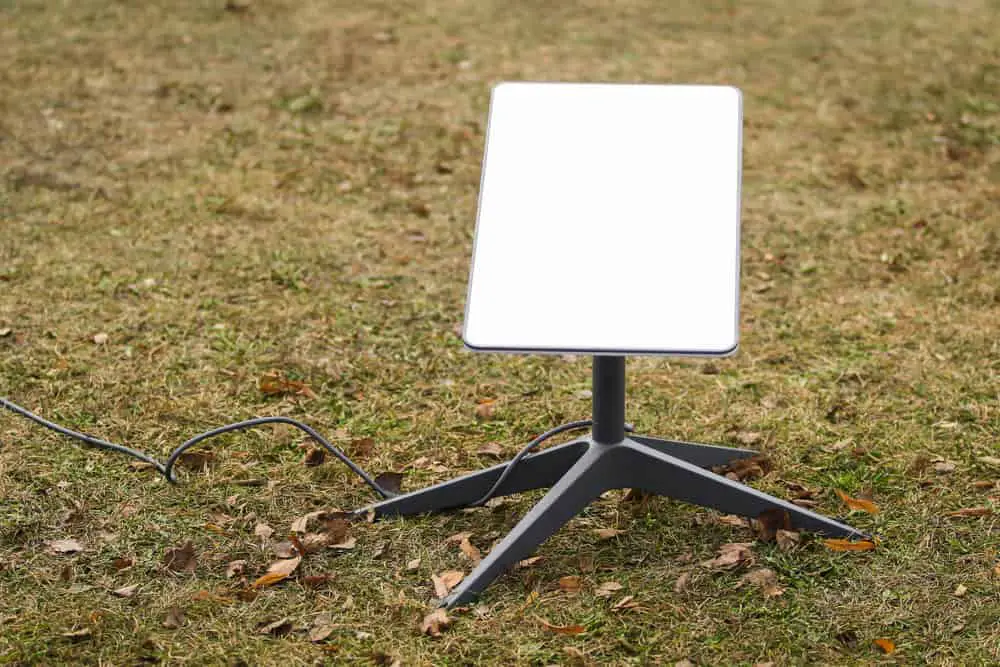
An antenna for receiving the Internet signal from space Starlink.
Starlink is primarily a satellite internet technology but with improved features over erstwhile forms of this internet.
It is by SpaceX, a popular company owned by Elon Musk that mainly deals with rockets and spacecraft.
Starlink set itself apart from other satellite internet providers by utilizing low-orbital satellites.
Starlink internet service users can access high-speed internet with relatively lower latency than another satellite internet.
Why is this feature important? Most satellite internet comes with high latency.
It is time it takes before a webpage fully loads.
Hence, Starlink ensures that this process takes the shortest possible time, thus improving the overall internet user experience.
Starlink Operation Mode
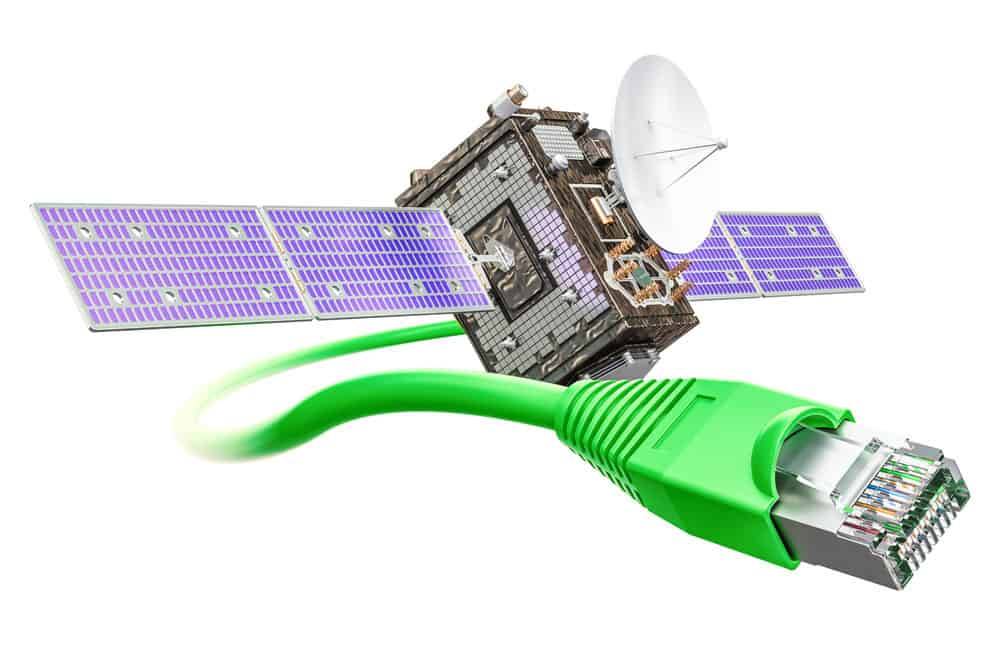
Illustrating Satellite Internet.
Starlink relies on multiple satellites that are about 354 miles from the earth. These are arguably the closest satellites to the planet that we have.
Hence, owing to the significantly shorter travel distance of the signal, its strength is stronger than most other satellite internet options that are further away from the earth.
For instance, the former satellite internet providers depended on a single satellite orbiting 22,300 miles from the earth’s surface.
It meant that since the signal traveled an extensive distance, it had a very high latency making the internet undependable.
Lastly, we mentioned that SpaceX, a spacecraft company, runs Starlink. Hence, the provider has the infrastructure to add more satellites on a need basis to meet the increasing user needs.
How do you get Starlink, and how much does it cost?
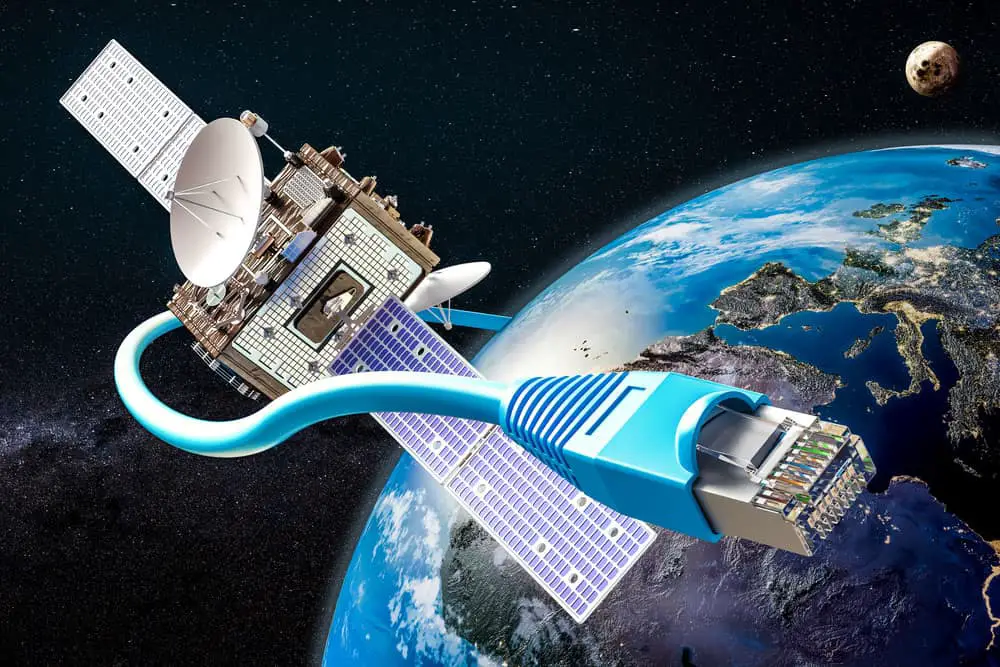
Global Satellite Internet Services Concept.
How can you connect to Starlink’s internet? There are two main ways, first, as a residential user or as a business user.
Residential users

Employees in an Office.
This option enables you to access Starlink internet in your home. Let’s look at the steps to connect to Starlink as a residential user:
- First, access the Starlink Page and check out the product map.
- Next, key in your location on the search bar and select ‘Search.’ You’ll get a response indicating if Starlink is available, on the waitlist, or scheduled to come soon.
- If you confirm its availability, you can make an instant order. If it is on the waitlist, you can still make an order for the hardware as you await connection.
Cost
Starlink requires you to pay a connection fee of $599 to shoulder the hardware costs.
After the payment, the company brings the infrastructure, sets it up, and it’s ready for use. However, you still need to pay a monthly fee of $110 to access the internet.
The upside to this internet is that despite the seemingly high costs, you will be connected to speeds of up to 100Mbps and a 20ms latency.
Business User

Employees in an Office.
You can also access Starlink for businesses. This option is optimized to provide internet to a larger pool of users. The connection steps are similar to those of residential connection, as discussed above.
Cost
Starlink business hardware is pricier; you must pay $2500 for the connection. Nonetheless, you’ll be assured of more properties such as the following:
- It comes with a higher gain antenna. It ensures it can access a broader range than the residential Starlink hardware.
- Also, the internet is more stable during inclement weather than other options making it highly reliable for business internet use.
Next, you must pay a $500 monthly fee for the connection. Again, this is pricier than the residential user’s internet.
However, you’ll enjoy incredibly high speeds of up to 350Mbps and latency of up to 40ms. Lastly, up to 20 users can connect to this internet without a dip in speed and latency.
How can I connect to Starlink?
App Store Concept.
Here is a stepwise illustration of how to connect to Starlink:
Download the Starlink App

App Store Concept.
Start by visiting your phone’s app store to download the Starlink App. As you’ll find out below, it will be useful in the subsequent installation steps.
Alternatively, open Starlink’s website from your browser if you’re using a PC or don’t want to download the app.
Check For Obstructions

Avoid Installation in areas with tall buildings.
Identify an ideal installation location that has no obstructions. The Starlink App you downloaded above should significantly assist you in this step.
Notably, having the Starlink dish in a position with clear access to the sky would be best.
Therefore, settle on a location with minimal obstructions as per the application. Otherwise, you won’t obtain a maximum signal quality. It can be problematic, especially during bad weather.
Once you identify a location, prompt the app to scan the surrounding upper area for any barriers inhibiting signal quality.
How Can I Connect to Starlink: Unpack Starlink Kit
A satellite antenna.
It’s time to check if you’ve got all the materials you need to install your Starlink. So open the package and check out if the following materials are present:
- A power cable
- A dish antenna
- A wireless router and its cord
- A mounting base
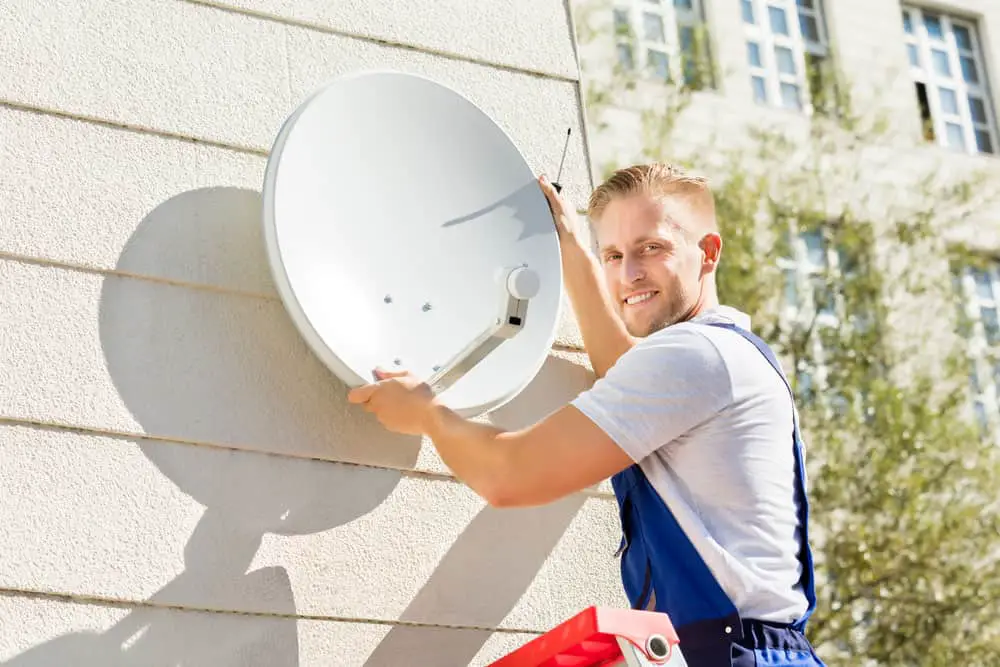
How Can I Connect to Starlink: Dish Installation and Assembly
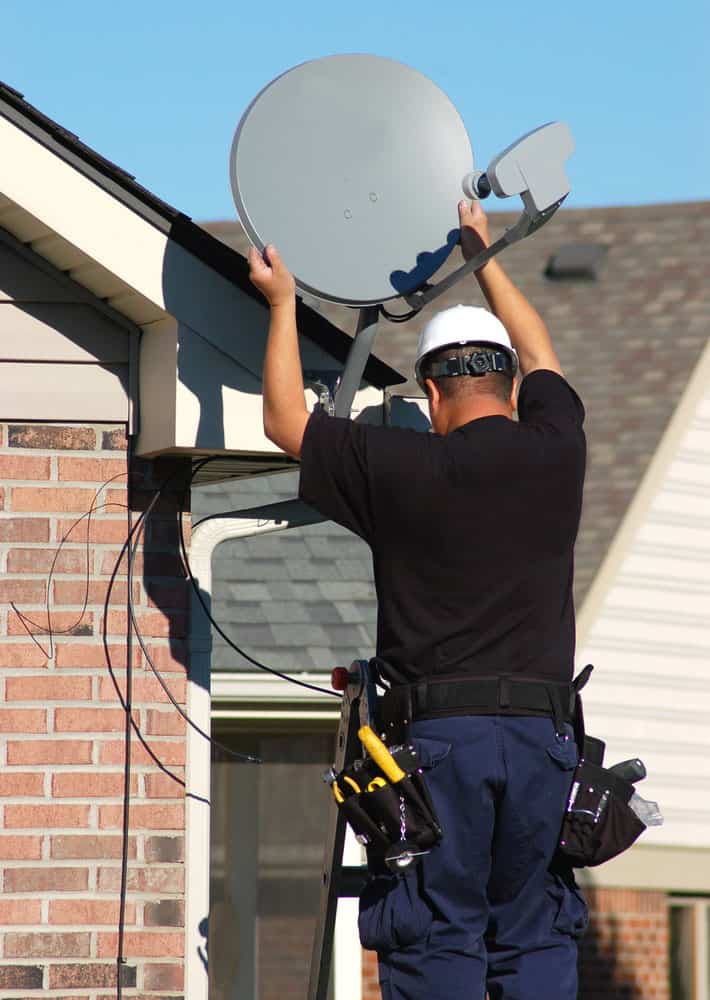
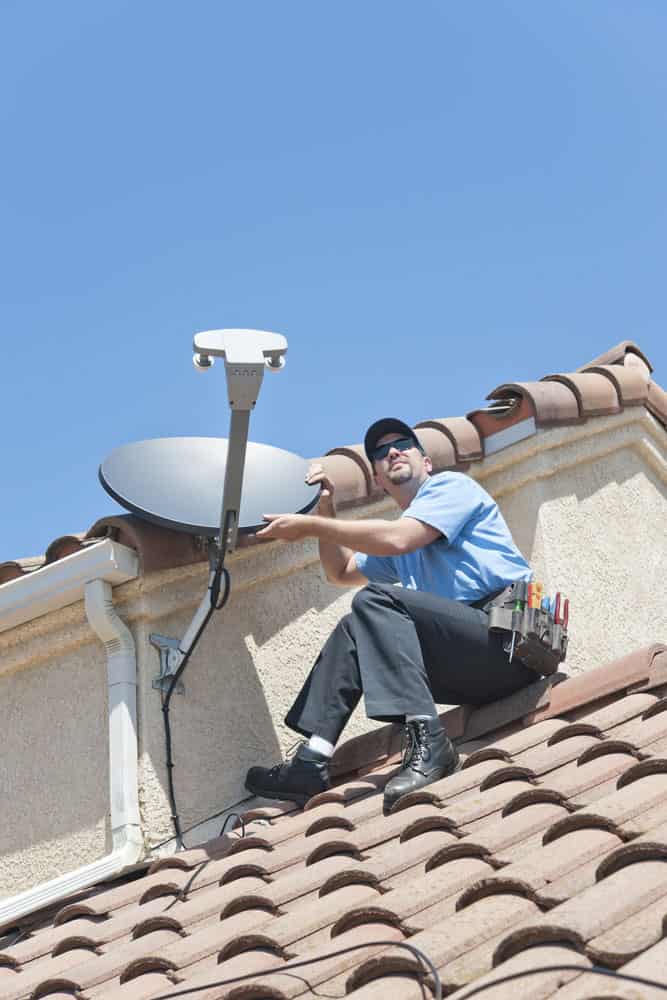
A Worker is mounting a Starlink Dish.
Here are the steps for the assembly and installation of the dish.
- First, plug the power cable onto the dish. Notably, your power cable will have a straight and curved end. You should use the straight end when connecting it to the dish.
- Next, connect the mast to your mounting base. You should ensure the mast perfectly locks onto the base at this step.
- Also, the rule of thumb is to mount the dish in the zone you identified earlier. With a clear vertical line of view, your dish will efficiently self-align.
- Connect the other end of the cable to the wireless router, which you should place inside the house. You can pass the cable through the windows if you test the connections. But you’ll have to drill a passage on the wall or near the roof for a permanent connection.
- Now connect the router’s power cable to a socket on your wall. Also, ensuring that your dish can easily tilt at this stage is essential, as this will be imperative in seeking a signal.
- Next, switch on the power supplies, and the Starlink dish will tilt to a position with the best connection to a satellite. It is primarily the essence of ensuring no obstructions are on the dish’s line of view.
- Further, follow the dish assembly guidelines as provided by Starlink in their package instructions.
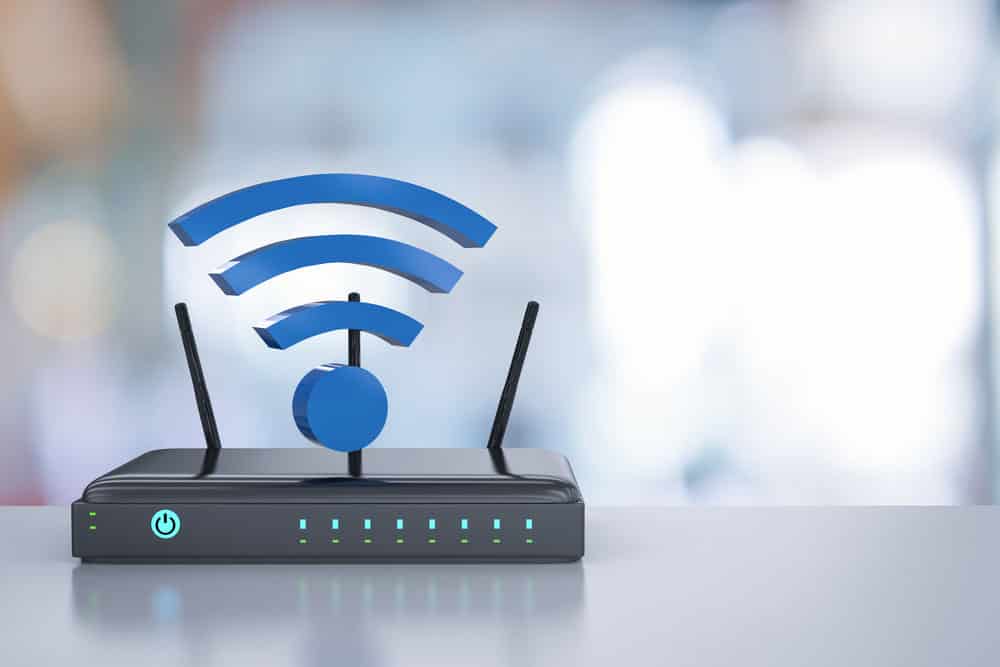
How Can I Connect to Starlink: Connect To Starlink
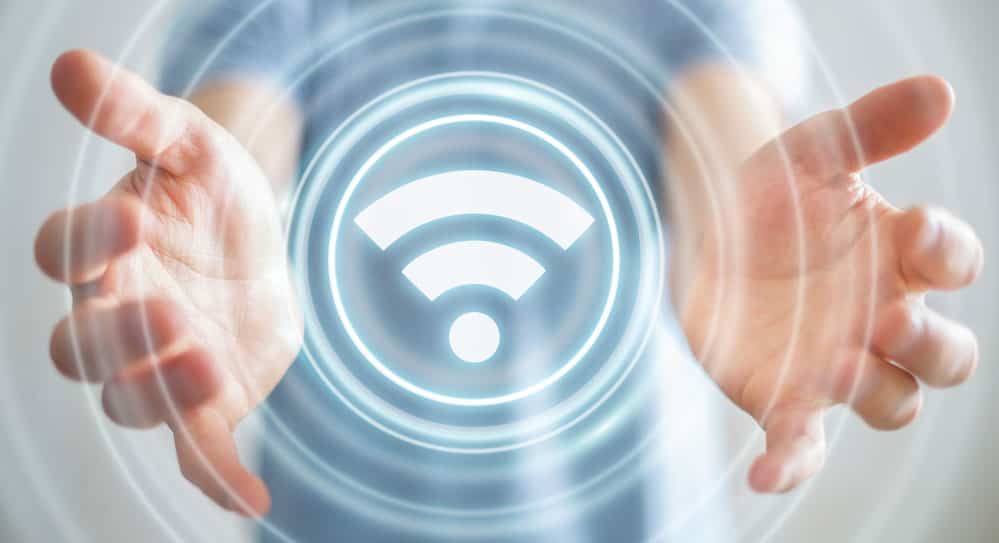
A WiFi Icon.
This step helps you set up a username and password on your cellphone to control and monitor the network.
- First, wait until the router initialization process is complete.
- After 5 minutes, open the Wifi settings on your mobile device.
- Check out the available networks, and if your Starlink is well-connected, it’ll show up under the name STINKY.
- Select the network to connect, and you can now configure it under the popup window that will pop at this stage. Choose a username and password of choice and save them.
- You have now connected to your Starlink and can start using it.
How Can I Connect to Starlink: Manage Starlink
You can easily monitor Starlink’s Internet Speed from the App.
Your Starlink App will be useful in this step as it provides all the information about the connection status. For instance, it’ll indicate that you’re online if you did everything in the installation step right.
However, it’ll be offline for some time if you have just switched it on as it seeks to establish a connection.
But, if it stays offline for some time, even after doing everything right, there could be a problem with your cable connections, so check them out.
Lastly, if you’re sure everything is okay and you still cannot get a connection, it’d be best to communicate with support.
Here are some of the other important pages you can access on Starlink.
- Visibility
Starlink’s feature lets you know if obstructions can hinder clear communication with the satellite. Nonetheless, it will take about 12 hours to aggregate the data, so you have to wait.
- Statistics
You can also monitor the statistics of your Starlink from the app’s stats page. Here, you will see the current network bandwidth and latency.
Also, the page grants you access to the outage information, ensuring you can know when there’s downtime.
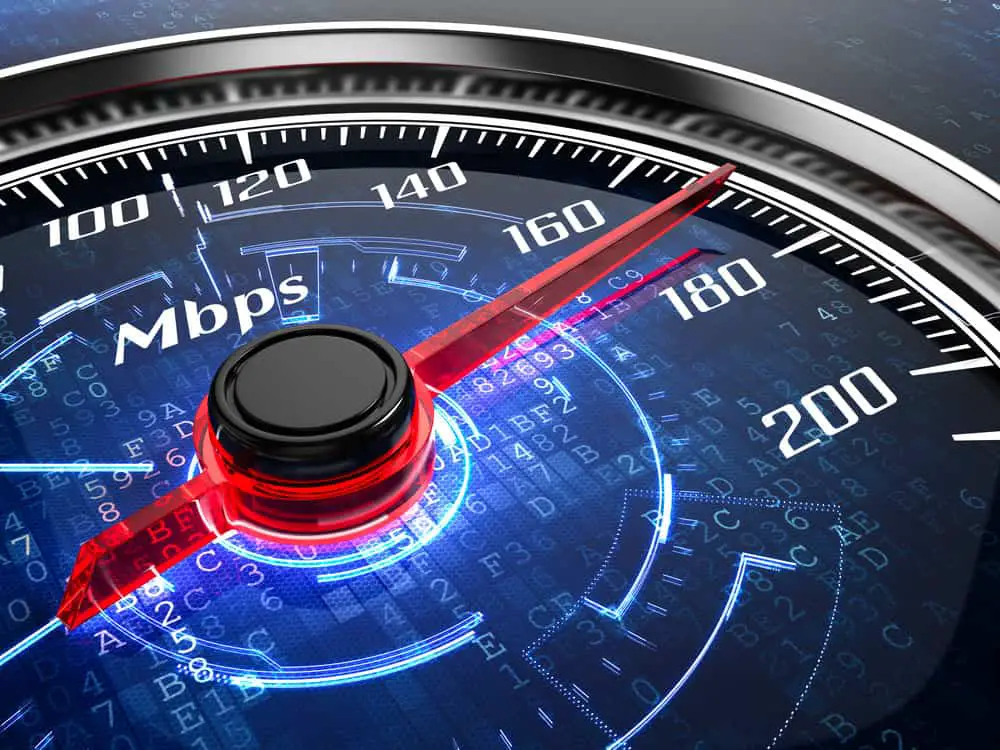
- Internet Speed
Thanks to its speed test feature, you can also monitor how strong or weak the internet connection is from Starlink’s app.
The average download speed for Starlink is between 50mbps and 250mbps. Hence anything below this range means there’s a significant issue.
- Settings
Lastly, the app has a settings page to make different customizations. It lets you change the password and username and even reboot the router if the connection weakens.
How To Access The Starlink Router Settings?
A Router.
There are two main ways to access Starlink’s router settings:
- Starlink App
It is the most convenient way to access Starlink router settings.
Depending on your device, you should visit your iOS or Android store and download the Starlink app. Next, log on to the app first, then ensure you connect to Starlink’s WiFi.
Note the router settings button is not outrightly accessible. Hence, after logging into your app, you first need to launch the settings app, from which you will now access the advanced router controls.
- Web Browser
Also, you can access router Settings by visiting the Starlink web browser page.
After you’ve logged in, accessing the WiFi settings is the same as for the app. Nonetheless, the app method remains the best since features such as ‘Advanced Wifi settings’ are unavailable from the web portal.
How Can I Connect to Starlink: How To Get Support?

A Support Agency Team.
You may need to contact support if something doesn’t happen as expected in the setup stage. The following are the two main ways you can obtain assistance.
- Official Starlink Support
It is available either from the app or Starlink’s webpage. Starlink support has answers to most of the common queries. But if your particular case is not available from the presented topics, you can choose to talk to an agent.
- Starlink Fan Communities
Another resourceful way to get the answer to your query is to visit the fan communities page. There are many pages where people offer practical solutions to some of the issues you may encounter with Starlink.
You can access them from major social sites like Twitter, Reddit, and Facebook.
If you cannot access one outrightly, search the query on your search bar, and among the results that will pop up will be a community page.
How can I connect with Starlink Spacex FAQs?
Do I need a power supply to operate Starlink?
Yes. You must have 240 V AC power supplies to operate your Starlink dish and router.
What is the Ideal Distance of my Starlink Dish from the Building?
Starlink has a 75 feet cable, so you can’t situate it as far as this distance from the house. But if you have a longer cable measuring up to 150 feet, you can still use it but not beyond this distance.
Conclusion
Have you been asking yourself this query: How can I connect to Starlink internet?
We have highlighted the due procedure above. Starlink will be a dependable option, especially if you get the initial setup correct.
Therefore, we advise you to seek help from a technician if you’re unsure how to connect it optimally.
