
Is your Starlink obstructed? It always happens, especially if you live under trees with a vegetative canopy. But is the Starlink obstruction issue such a big problem?
Yes, it is. It could be why your internet never attains the top speeds the company should deliver to its subscribers.
Hence, join us as we explore the details of Starlink dish obstructions and how to curtail the problem.
Table of Contents
- What does Starlink Obstructed mean?
- How to check for obstructions?
- How to Mount the Starlink Dish without Obstructions?
- The Severity of the Problem Reflected by the Starlink Obstruction Percentage
- Can you use Starlink with Obstructions?
- Which direction is clear for Starlink?
- Conclusion
What does Starlink Obstructed mean?
When installing a Starlink dish, we erect it at a position where there’s a clear sky view. Thus we can regard anything that curtails this setup as an obstruction.
In case of obstruction, the dish naturally tries to connect to another satellite in the new line of view. If none are present, you’ll encounter a disconnection from internet access.
Thankfully, the Starlink app always informs you of an apparent obstruction.
Also, obstructions are usually temporary, especially if you optimally position your dish during setup.
How to check for obstructions?

A house with a clear line of sight of the sky view.
It’s pretty straightforward to identify if there are overhead hindrances to your dish’s line of sight, especially when setting up the dish. And what’s good is that you don’t need to be a subscriber to find the ideal position for your dish.
Simply download the Starlink app to get started and use its built-in obstruction tool that scans the sky using your device’s camera.
Hence, prompt the scanning functionality and move your phone while pointing upward around the area.
Then, the app will provide you with the average obstruction data.
The alternate method is to check for the overhead barriers about 12 hours after installing the dish. Dishy collects all the information about the obstructions and compiles it. This data is available from your app.
Hence, the app tool is handy in picking out the obstructions and tells you the kind of problem you’re having.
How to Mount the Starlink Dish without Obstructions?
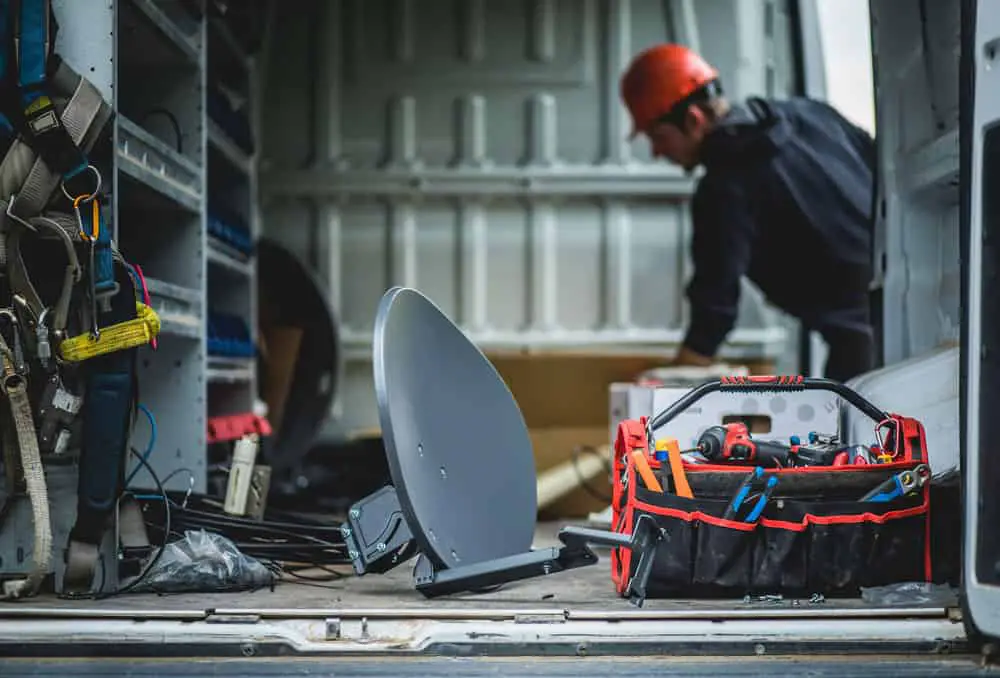
A technician is preparing to mount a round dish.
Obstructions can be problematic, especially if you’re also not careful about how you mount your dish. For instance, you could have a great site with a pretty clear sky view, but if you don’t have a good mount, there will still be obstructions.
So after picking a clear spot, the next hurdle is to select the ideal mounting option. There are many ways to go about this, but primarily, the aim should be elevating the dish as high as possible.
So go for options that allow that, such as the Starlink pole or J-mount. Alternatively, go for the volcano mount, primarily if you use the Starlink RV service.
The choice of the mount will depend on the prevailing scenario, so pick up the one that guarantees the highest elevation.
The Severity of the Problem Reflected by the Starlink Obstruction Percentage

TV buffering is common with slow internet.
The Starlink tool will provide you with obstruction data in percentages. It’s, therefore, essential to understand each percentage’s meaning to know what type of corrective measures to take.
| Starlink Obstruction Percentage | Implication |
| 0% | If the percentage is zero, you don’t have to worry about losing your connection because of obstructions. |
| 1 to 5% | Again, the problem here is insignificant, although it’s worse than having a zero percentage challenge. You may encounter a few lapses in connection, especially when performing internet-intensive activities like video gaming or conference calls. |
| 6 to 10% | Now you have a reason to get worried because, unlike in the previous level, you may encounter frequent connection lapses at this time. For instance, if you’re on Stream TV, it’ll begin to buffer for a few seconds, although the issue will be quite profound when streaming HD content. |
| Above 11% | You’re dealing with a significant obstruction issue at this level. It’ll be evident in the buffering level when watching stream TV, whereby it’ll take quite some time before it loads content. Also, you will have issues when trying to access websites and may have to reload them several times, especially if the obstruction is so high. |
From the table above, a slight change in obstruction percentage can affect connection issues on a significant scale. Hence, for the best results, try to set up your dish in a position where the overall obstruction is below 5%.
Can you use Starlink with Obstructions?

A happy freelancer using the internet.
Your Starlink dish will still connect even when you have an obstruction, although the signal strength will depend on the percentage.
If you have a very high percentage of obstruction, you will experience relatively high latency and slow speeds.
Hence, you will have problems when playing online video games, making conference calls, or other activities that are internet intensive.
Which direction is clear for Starlink?

A Starlink antenna on the ground.
There’s no outright ideal direction for Starlink, as this will primarily depend on where you live and the position of the overhead satellites.
Nonetheless, you can pick out a satellite easily when you align your dish towards the north.
Also important is to ensure you incline the dish at an angle of approximately 45 degrees.
If you don’t know how to realize that, just let it face the sky with the entire face of the dish having a clear view above.
The Starlink obstruction tool will be handy in this setup, so consider using it throughout the installation.
Conclusion
A significant satellite receiver obstruction will miss you a lot. Therefore, the ideal scenario is an open-air above, whereby the dish can directly communicate with the overhead satellites seamlessly.
Thankfully with our guide, you know how to tell when you’re dealing with a major obstruction issue and how to fix it.
