
About Emulator Nvidia Shield, Nvidia Shield TV is an excellent media player for streaming your favorite movies and shows in clear 4K UltraHD.
Moreover, the device features a powerful Tegra X1+ processor and 3GB RAM, ideal for playing games on Geforce.
Besides streaming movies and playing Geforce games, the device can also support an emulator, allowing you to play classic games.
If you are wondering how to do that, stick with me as I share a detailed emulator Nvidia Shield installation process.
Table of Contents
- Why Install an Emulator on Nvidia Shield TV
- Things to Consider Before Installing Emulators on Nvidia Shield
- How to Install The Emulator on the Nvidia Shield
- How to Fix Common Issues With Emulators on Nvidia Shield TV
- Conclusion
Why Install an Emulator on Nvidia Shield TV
Emulators are apps you can download on your Shield TV to imitate the functionality and hardware of a gaming console.
With an emulator, you can play diverse games from consoles like SNES, PS1, and Sega Genesis.
Some emulators support the multiplayer function, allowing you to play with friends and enjoy high-definition graphics from Nvidia Shield.
Furthermore, emulators improve resolution, framerates, and general game performance compared to the original console, making your Retro gaming enjoyable.
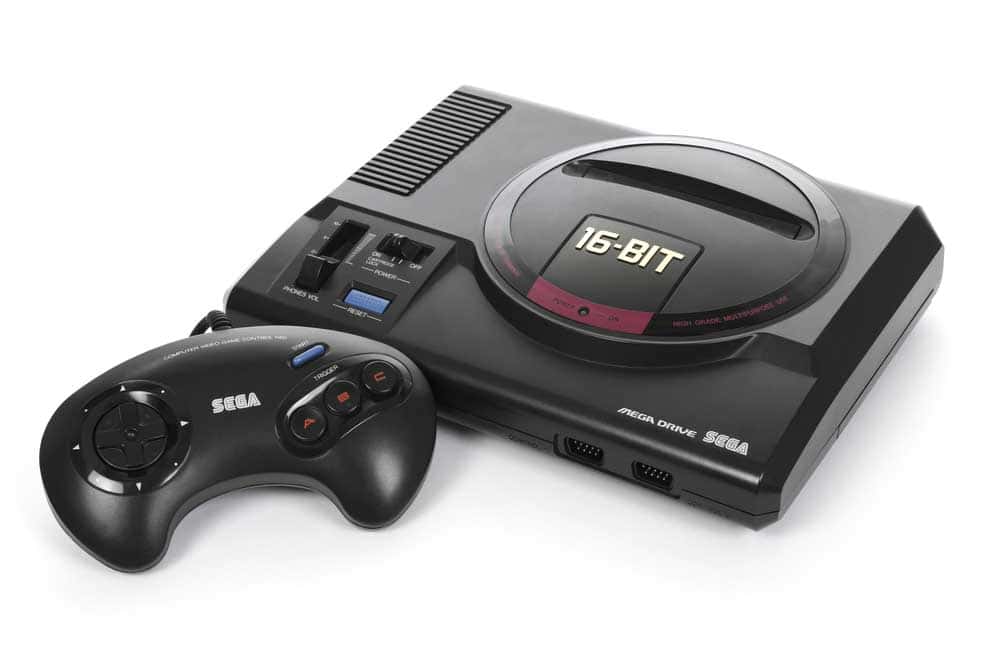
Sega Genesis gaming console
Things to Consider Before Installing Emulators on Nvidia Shield
Before installing an emulator to mimic your classic Super Nintendo, you need to consider the factors below:
Nvidia Shield TV Type
As you may already know, we have two types of Nvidia Sheild TVs: the Nvidia Shield and Shield Pro.
While both versions are excellent for gaming, Shield TV Pro is more suited to gaming due to its onboard capabilities.
For starters, it comes with 16GB storage compared to 8GB in the base version, which is ideal for game storage.
It also has 3GB RAM 64-bit architecture, offering a better gaming experience than 32-bit and 2GB on the base model.
In addition to better controls, the Pro version comes with USB ports for connecting gaming hardware, a functionality lacking in the base model.
Note, however, that some emulators only work with the base version of the 32-bit architecture.
External storage type
External storage lets you transfer a game from your PC to your Shield TV.
It is not advisable to store your games on Nvidia Shield storage since it may deplete the memory, thus lowering its gaming functionality.
Additionally, most Shield TV browsers do not support downloading capabilities. Hence, you cannot download games.
For these reasons, I recommend a good external storage gadget such as an HDD, USB, or miroSD for the base version.

External storage device
File Manager app
A file manager app helps you copy gaming files from your connected storage device to your Shield TV.
Luckily, there are a lot of file manager apps available on the ShielD TV- TV-compatible Google Play Store.
You just need to visit the plPlay Storesearch File Manager and finally download and install it on your TV.
Appropriate emulator
The Play Store has different emulators to mimic different gaming consoles. Some emulators support one gaming hardware, and others that support multiple consoles.
For example, if you want to emulate a single console like PSP, you can download PPSSPP or FPse for PS1 games.
On the other hand, if you seek to emulate multiple consoles like SNES, NES, and Nintendo, go for the popular Retroach.
Other best emulators for Nvidia Shield include MD.emu, ClassicBoy, and My Oldboy.
While you can download most emulators from the Play Store, some may not be available there, requiring sideloading.
How to Install The Emulator on the Nvidia Shield
After following the above considerations, it is now time to install an emulator on your Shield TV using the steps below:
- While on your Shield TV home screen, locate and open the Play Store.
- Now, type emulator on the search bar and locate your desired one. If you do not know which one you want, consider the one will several downloads and positive reviews.
- Select the emulators to open it and find and click the install link
- Consider connecting your gaming pad while you wait for the download and installation to finish
- Once you connect the gamepad, ensure you accept to giving it all prompted permissions
- Now launch the app and locate its collections or library from its Home screen
- Select the file manager file where you loaded the game on your Shield TV. The app will detect these game files automatically if it supports their format.
- Finally, open your game and start enjoying.
While this is the general emulator installation procedure, the steps may vary depending on the app’s choice.
Installing a software
How to Fix Common Issues With Emulators on Nvidia Shield TV
While playing your childhood games with an emulator seems fun, you can still encounter several errors.
When that happens, use the following troubleshooting methods, and you will be fine.
Check for updates
If you encounter challenges installing or loading an emulator on your Nvidia Shield, try checking for updates.
Updates are recent files developed for your TV to allow functionality depending on modern trends.
You can easily check, download, and install updates via Shield TV Settings, Device Preferences, About, and System Upgrade.
Remember to update your emulator regularly by launching it on the Play Store and checking for an update link.
Frame rate issues
The frame rate determines how your system displays consequent gaming images.
A good frame rate makes gaming characters’ movements move smoother and more detailed for an immersive and appealing experience.
Sometimes, playing retro games can result in frequent frame drops and fluctuations due to unmatched frame rates.
When this happens, visit your emulator settings menu and find resolution settings where you can alter the frame rate.
You may also change the frame rate on your shield, but be careful since it may bring challenges even when streaming movies.
Gaming controller issues
When you run into controller challenges like not syncing with the game, consider changing its setting on the emulator.
If this does not work, it might be a controller Shield TV connection problem, which you can solve with a reboot on both devices.
To reboot your Shield TV, disconnect it from the power source, switch it off, and wait about 5 minutes before retrying.
For the gaming controller, follow the process below to achieve a reboot.
- Remove the USB cable from the controller.
- Now press and hold the Home, Back, and Shield TV buttons simultaneously until the LED blinks.
- Now, wait for the controller to turn all LEDs off.
- Next, press and hold the Shield TV button to engage the pairing mode.
- Finally, Insert the USB cable, pair the controller with the TV, and check if it works.
Other troubleshooting for the controller includes updating it and checking if ports, batteries, and USB cables are functional.
Retroarch support challenges
While Retroach is one of the best emulators for Shield TV, it may encounter when loading games. Luckily, the app comes with various cores for the same gaming console.
Therefore, if you encounter problems with one core, try the next until you find the functional one.
Conclusion
Now you know how to install and solve challenges related to the emulator Nvidia Shield. Before playing, configure the emulator appropriately to get an immersive experience.
Additionally, ensure you own the rights of the games you are emulating, lest you face legal problems.
