
About Connect Google WiFi To Existing Router: Whenever you have a router at home or work, it is critical to place it where everyone can access the internet without losing signals.
However, we all know this is not possible if you have a large space.
That’s why tech companies designed devices like Google Nest WiFi to help you get better reception.
But what if you already have a router and only need an upgrade? In this article, we’ll find out how you can connect your Google Nest WiFi to your existing router.
Table of Contents
- Why Use Google Nest WiFi On Your Router?
- Prerequisites
- Hardware Connections
- Step 1: Set Up Routers
- Step 2: Set Up Google Nest
- What’s The Difference Between Modem and A Router?
- Conclusion
Why Use Google Nest WiFi On Your Router?
While Google offers its standalone router and the Nesh system, sometimes it is ideal to use your router.
For example, if your router has an incredible internet speed, you can add the Google Nest WiFi to expand coverage while maintaining the fast internet.
You also get a few extra features, such as Google Assistant and hands-free commands.
Prerequisites
Google Nest WiFi nodes
Before we dive into how to connect your Google Nest WiFi, you should know a few things about how this device works.
The Google Nest comes in a bundle, and the system works harmoniously. It means the Nest points and the Google Nest router must be linked for the internet to work.
That said, it’s technically impossible to get a WiFi hotspot with your old router using Google Nest WiFi nodes.
Even if you do, the process will likely create connectivity issues as Google Nest explicitly states that it does not support any non-Google device.
Anyway, if you still feel you want to connect it to your old router, don’t worry. We have explained how to achieve this and get decent internet at home.
First, you must ascertain if your router supports bridge mode and ensure you have the Google Nest router for the next steps.
Hardware Connections

Cables connected to an internet device.
Since we’re connecting to an already existing network, the order of connection is critical.
To connect the existing router to Google Nest Wifi, simply connect the old router to the modem using an ethernet cable.
Then, connect the Google Nest WiFi router to your existing router with an ethernet cable.
Now that we have the correct order of connections, the next step is establishing communication between the two devices.
Step 1: Set Up Routers

Search bar
First, we need to turn off the routing function of your existing router so that it can communicate with Google Nest. We need to turn on Bridge mode using the following steps to do this.
Go to your router’s homepage.
The gateway settings can be accessed through another WiFi connection or by connecting the router to your laptop.
There are a few ways to access this page, but the common one is by entering 192.168.1.1 or 10.0.0.1 from the browser.
Enter Username and Password
The username and password here are different from your WiFi password. So, ensure you get the right ones here or from the device.
This information is usually printed on most modern routers.
Activate DHCP Server
Once logged in, go to the services page and then DCHP Settings. Here, we must check our router’s gateway settings, including IP addresses and DNS.
But since different routers have different settings displays, skim around for LAN Setup or Network Setup.
Activate Bridging Mode
Go to Network Mode or Connection mode and turn on Bridge mode/Repeater/WDS. You should have your router now set up as a modem.
Step 2: Set Up Google Nest
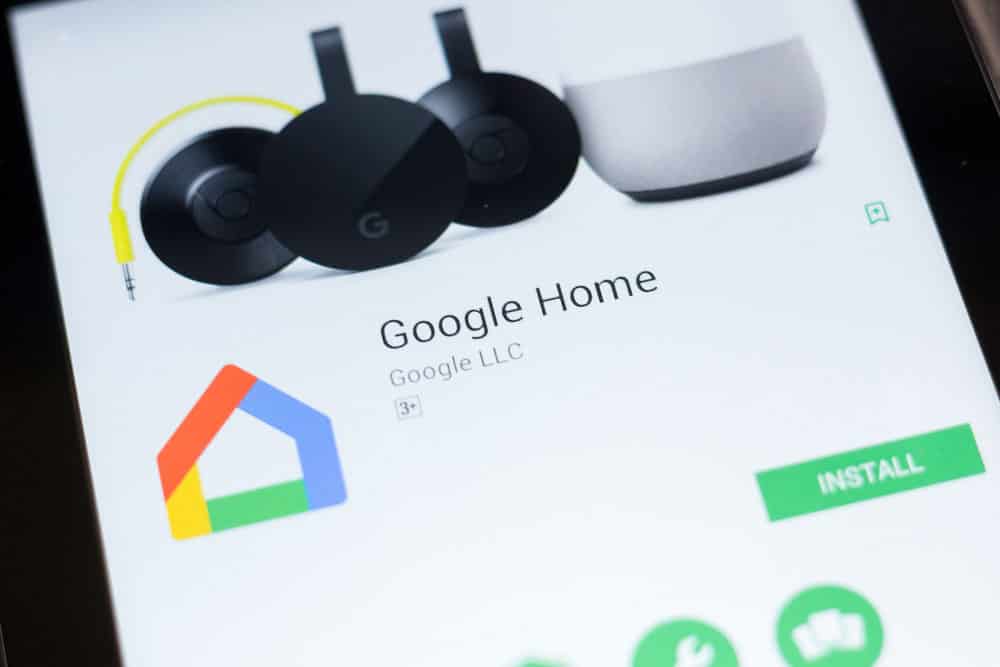
Smartphone on Google Home page
Next, we’re going to activate the Google Nest system online, and we need the following:
- A smartphone or device with Android 6+ or iOS 13.0+.
- A modem with internet working properly.
- Your Nest Router and WiFi points.
To set up the Google Nest Router, you must first connect it with the existing router. Then follow these steps:
- Install the Google Home application on your device.
- Click the + sign on the app once installed.
- Select Create Home to add your setup.
- Click the + sign again and select New Device.
- The Nest router should show if it is properly set up.
- Find the QR code on the bottom of your router and scan it.
- Once done, it will prompt you to other settings, which you will use to set up your network, and you will have successfully created a Google Nest network.
To add one or more Nest WiFi points, follow these simple steps.
- Select the + sign, go to New Device, then Set up Device.
- The connected Nest WiFi should pop up.
- Find the QR code and scan it as in the previous step.
- Follow the next steps by Google and click on Yes.
You can add multiple routers instead of the Google Nest nodes. The routers have a larger WiFi range and can connect to devices within a 2200 sq feet radius.
What’s The Difference Between Modem and A Router?
It is no secret that nowadays, people can’t understand the difference between a modem and a router. Technology has crept up both these devices, and most are now used as one.
A modem is essentially a device that provides internet to your home from an internet service provider.
It can be a box or sometimes just a coaxial cable running through the walls.
A router enhances this connection from the modem in a way that it is accessible from all your devices either wirelessly or through an ethernet cable.
Most times, your internet service provider will give you a gateway, which, in modern terms, acts as a router and a modem.
But they are still two different technologies where you’ll need both features to have an internet connection.
For the sake of this article, I have tabulated the differences between the two to help you understand them better.
| Modem | Router |
| Uses WAN Network | Uses LAN Network |
| Uses Public IP address | Uses local IP address |
| Provides internet to your home | Provides internet to your devices |
| Has few ethernet ports | Have more ethernet ports for devices |
Since the technology of modems remains the same, if you have a very good one, you can just replace the router with a Google Nest router.
Conclusion
We hope you understand how to connect Google Nest WiFi to an existing router.
Alternatively, we’d recommend switching the existing router with a WiFi mesh system to skip all the hassle of setting up your router.
It also makes sense if your router does not have bridge mode or is not as fast.
Even if you have spent some bucks on your existing router, the accessibility and capability of the Google Nest WiFi router are worth a try!
