
About Home Hub Not Connected, Having a home hub that is not connected can be quite frustrating. A home hub is a gadget that is the main remote for all your smart home accessories.
It manages aspects of the home, including entertainment, security, and temperature.
However, having a home hub that is not connected can limit the functionality and convenience of these smart devices.
In today’s post, we will give you a comprehensive guide to the different ways and steps of troubleshooting home hub connectivity issues.
Table of Contents
- Check the statuses of your hubs.
- Check the Status of the Network
- Switch the Network to a Wider Bandwidth
- Update Apple TV and Home App
- Removing and Re-adding your Home
- Factory Reset
- Conclusion
Check the statuses of your hubs.
Check the status of your hub on your iPhone or iPad.
- On your devices, tap on the Home app
- Go to the top and select the Home icon
- Choose the Hubs and Bridges option. Tapping on this option will give you a list of your home hubs and their current status.
The Check your hubs on Mac.
- Start the Home app.
- Select Edit, and then select Edit Home.
- Press the Hubs and Bridges option.
Check if your Apple TV is connected as a home hub.
- Turn on your Apple TV and select settings.
- Navigate to the Airplay option and select Home Kit.
- Here, you will find a Home Hub option with the name of your home that says connected. If it indicates Disables, click Connect.
Check the Status of the Network
To check the status of your network, you should conduct a network speed test. It can easily be done through various apps on the App Store or a speed testing site.
Follow these steps to refresh your network:
- Leave the Router unplugged for a couple of seconds.
- Hold down the router’s power or reset buttons for about two seconds, then release. Repeat this process a couple of times.
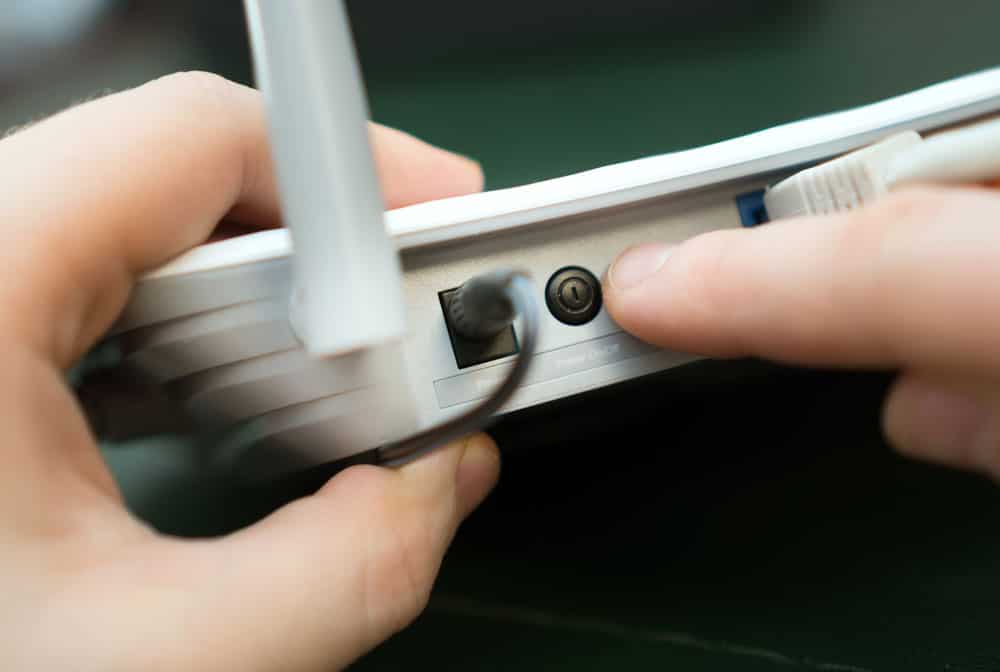
(man pressing the power button on the Wi-Fi router)
- Connect back the router’s power supply and switch it on.
Conduct another speed test to check your network status. You can connect your devices back to the network if all is fine.
Switch the Network to a Wider Bandwidth
Sometimes, refreshing the network doesn’t work, and you may still get a disconnected status. If you are in that situation, don’t worry. Switching the network to a wider 5 GHz band can help solve the problem.
The 5 GHz band is more reliable and compact than the 2.4 GHz band, even under heavy traffic.
Follow these steps to switch to the 5GHz on your Apple TV:
- Open the Network tab by selecting the Setting option on the device.
- Navigate to the Wi-Fi option and select the 5GHz band.
- Then complete the process by entering your Password, and you are ready.
Alternatively, to get less interference and a more stable network, you can try the wired network option over wireless mode.
The steps below will guide you on how to switch the network from wireless to wired mode on the Apple TV:
- The Ethernet wire needs to be connected to your Apple TV initially.
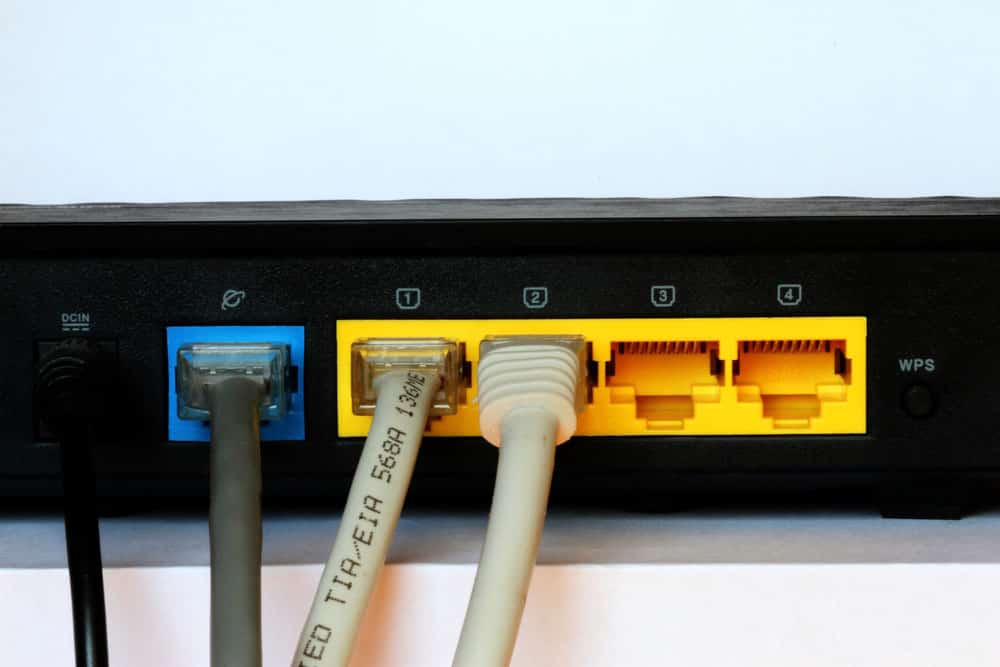
(Ethernet cables connected to a router)
- Navigate to the settings menu and press on the Network option.
- Select the Wired option.
Wait for your Apple TV to detect the Ethernet cable.
Update Apple TV and Home App
Next, update the Home app and Apple TV’s software. When the firmware and apps on your devices are outdated, they are prone to malicious bugs and errors.
Always keeping your devices updated makes them immune to viruses and errors common on the internet.
To update your Apple TV, take the following actions:
- Select the Systems tab under settings.
- Look for the tile Software Update and select Update Software.
- Next, press the Download and Install option to initiate the update.
A status LED will show on your device once the update is initiated.
As an alternative, you can enable automatic updates on your Apple TV. To enable this option, go to Settings > Systems > Software Update > Automatically update.
For Apple iOS device Home app update, follow these steps:
- Open your device, go to the App Store, navigate to the top right, and click the Account icon.
- Go to the Available Updates section and click on the Home app tile.
- Click on update to begin the update process.
Removing and Re-adding your Home
If you’ve gotten to this step, it means you have tried all the steps above, and nothing seems to work. The last resort is deleting and re-adding your home.
This process involves repairing all your accessories and reconfiguring all processes in the Home app.

(home kit logo on iPhone)
To completely remove and re-add you’re Homekit, follow these steps:
- Click the house icon in the top-left corner of the screen to launch the Home app.
- Click Remove Home at the button of the options menu after scrolling down.
- Return to the Home app, and begin re-adding your HomeKit applications one at a time.
Factory Reset
You may have to Factory Reset your Apple TV if the connection issue continues.
It’s crucial to remember that a factory reset will erase all downloaded material, data, settings, and applications from your device.
On your Apple TV, start the procedure by doing the following quick steps:
- Locate the System option under the Settings menu.
- Click Reset.
- You will be given two options: either Reset or Reset and Update. Clicking on the Rest and Update option can update the Apple TV to the latest firmware version.
The reset process may take a while, so be patient for it to finish.
Once the process is completed, set up your Apple TV to your taste, and you can now log back into your iCloud Account.
To perform a factory reset on older third-generation Apple TVs, on Settings > General > Reset.
Conclusion
And there you have it, a complete guide for solving all your home hub connectivity issues.
There are different ways of solving connectivity issues with your home hub.
The first five will generally fix your problem. However, if the issues persist, you can try performing a factory reset.
If you need help following these steps, you can contact our team for further assistance.
You should contact Apple customer support if you need help with these solutions.
