
What is Homekit on Roku? Before we delve into the specifics, here is a critical titbit: Homekit can significantly improve your Roku user experience.
This guide explains how you can excellently interface it with your Roku device.
Table of Contents
- What is HomeKit?
- Check for Roku Homekit Compatibility
- How to Set Up Apple HomeKit for a Roku Device?
- Controls You Can Use with Homekit
- Common Issues while Connecting Roku with Homekit
- Why will my TV, not power on or off use HomeKit?
- Conclusion
What is HomeKit?
It is a software framework that enables you to control smart home devices from an Apple device.
Also, it’s often compatible with your Roku device and assists you in controlling it without moving a foot.
The system is by Apple INC and is easy to set up, as we’ll explain below.
For reference, A Roku device is an interface that grants a range of stream services.
Hence, interfacing with Homekit means you can control stream content from your Apple phone.
Also, it allows you to access content stored on your Apple Device, such as family photos on the TV.
Check for Roku Homekit Compatibility
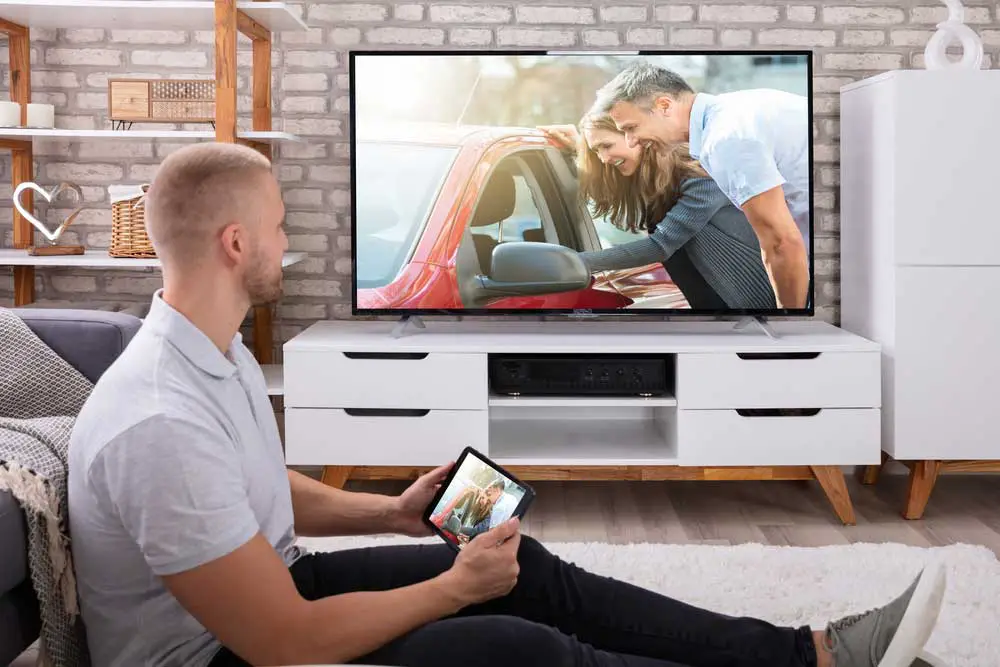
A man controls stream TV from a mobile device.
Roku TVs, on most occasions, support the Homekit application. Nonetheless, you could be unlucky enough to encounter a model/version that doesn’t. Therefore, find out if your Roku TV is compatible via the following few steps:
- Click on Settings from your Roku Device remote controller.
- Next, choose System, then About to discover the Roku model/software version you’re using.
Below are some of the common Roku devices/models.
- Roku TV (Axxxx, Cxxxx, CxxGB, 7xxxx models)
- Roku Premiere and Premiere+ (3920, 4620, 3921, 4630 models)
- onn Roku Smart Soundbar
- Roku Smart Soundbar
- Roku Streambar and Streambar Pro (9102 and 9101R2 models)
- Roku Streaming Stick 4K and 4K+ (3820 and 3821 Models)
- Roku Express 4K and 4k+ (3940 and 3941 models)
- Roku Ultra and Ultra+ (4600, 4640, 4660, 4661, 4670, 4800, 4802, 4662, 4801)
If you use any of these device’s models, they must be on version Roku 9.4 to support Homekit. Also, some models needed at least Roku OS 10.0, such as the following:
- Roku HD (3932 model)
- Roku Express (3900, 3930, 3932, and 3960 models)
- Roku Streaming Stick (3600, 3800, and 3801 models)
- Roku Express+ (3910 and 3931 models)
- Roku 2 (4205 and 4210 models)
- Roku 3 (4200, 4201, and 4230 models)
Which Apple Devices are Compatible with Roku?

An iPad Tablet.
Suffice it to say that not all Apple Devices can connect to Roku. Those compatible include the following:
- iPod touch, iPad, or iPhone with iOS 12.3 and above.
- For Macs, any device will support Roku as long as it runs on macOS Mojave 10.14.5
How to Set Up Apple HomeKit for a Roku Device?
A TCL Roku TV
Enable Fast TV
The default mode for Roku devices is a power-saving setup. It ensures that Roku doesn’t connect to WiFi to save the power it’d use if it connects automatically. You must deactivate this first and then activate the Fast Start/Fast TV feature.
- On your Roku TV remote controller, click Settings, then choose Systems.
- Now select Power. It will give you the option to switch on the Fast TV. If you’re using a Roku Streambar, it will display Fast Start instead of Fast TV.
- Click on Enable, and your Roku TV is not ready to connect to your Homekit.
Screen Mirroring on Roku
Here are the key steps to do this:
- Click Home, then Settings, System, and select Screen Mirroring from the available options.
- Select the Screen Mirroring mode, then choose Always Allow. It means your Apple Device connects automatically to Roku anytime. But they must always be on the same network.
- You can also opt for the Prompt option. But this means you must always confirm if you want to connect.
Enabling Homekit on Roku
Finally, set up your Apple Homekit via the following simple steps:
- Click the Roku Home button, then choose Settings.
- You will find a menu that prompts you to choose Apple AirPlay and HomeKit.
- Click this option and select Homekit.
- Next, click on Setup to begin setting up your system.
- The TV will show an eight-digit code. Scan it with your compatible Apple Device.
- Next, your Apple device will direct you on how to complete the setup process.
The rule of thumb is connecting the Roku and Apple Devices to the same WiFi.
Controls You Can Use with Homekit

A Macbook.
You’ve finally managed to connect your Homekit with Roku. What are some of the functionalities you can access on your Roku device from your Apple device?
Power Controls
Your Apple device now takes up the role of your remote controller. Now you can outright turn Roku on and off from the Apple Device.
How?
- Click on the Roku device you’re controlling from the Home App.
- Next, switch it on or off from the Power Button.
Also, there’s a remote controller in your Control Center. You can alternatively use it to power your Roku Device On or Off.
Volume Control
You can also control your Roku device volume from your Device. It includes turning it On or Off and even muting it.
Click on the Apple Remote App to make the volume control changes.
Switching inputs
Say you are on HDMI input and want to change to another mode. You can implement this change from the Apple device.
Thus, this is an ideal alternative when you don’t have a remote controller.
Click on the Home App, then click on the Roku TV tile. Now you have access to the various TV modes. Select the desired item by scrolling down the options.
Basic Remote Controls Commands

Voice Control Concept.
As we said earlier, the Apple device is now typically a remote controller.
Hence, everything you can do on the Roku remote device is possible from the app.
In addition, you can also execute voice controls via Siri from your Apple Device.
It is straightforward. Click on Siri, then provide the voice command of your desired action. For instance, you can say, ‘Turn on Roku.’
Also, you can change the input via a voice command. Try this out. If, for instance, you’re in AV mode, give a command such as, ‘Change Input to HDMI.’
Setting up Scenes
Homekit also allows the integration of Roku with other compatible components. Here are the steps:
- Click on the Home App and select the plus (+) sign on the far right.
- Next, click on Add Scene, and now you can choose the scene.
- If you want a Custom scene, add its name and next click Add Accessories.
- Select the Done option to complete the process.
Also, Homekit allows you to tinker with an accessory’s settings. Simply long press on the Accessory after adding it, and that’s it.
Common Issues while Connecting Roku with Homekit
You will experience two main issues when connecting your Roku Device to Homekit.
Connectivity Challenge

Devices cannot connect issues.
A common issue is connectivity. You may find that nothing seems to work despite following the above procedures.
Here are some of the means to contain it.
First, ensure your devices are nearby. It includes the Apple Device and the Roku Stick.
Simply click the Home Button, select Settings, and then System Update.
Your Roku device will prompt you to Check for Updates. Download the latest updates.
Also, a connection problem resulting from a poor network is likely to affect connectivity.
So refresh your router to connect afresh.
Faulty commands
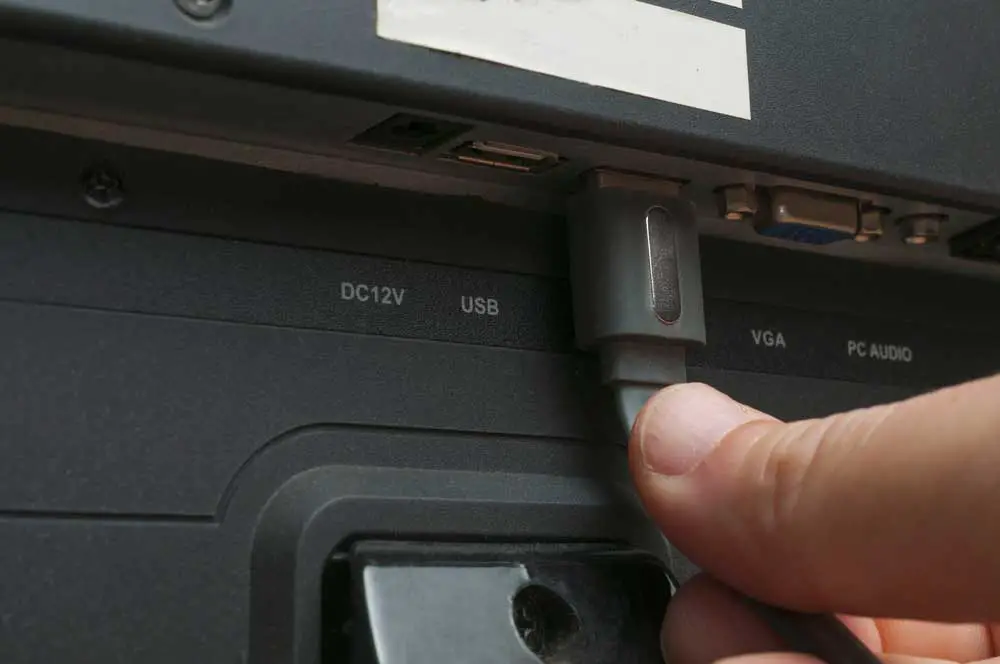
A HDMI Cable.
Another typical issue is a ‘no response’ message which primary is due to a faulty command.
Again, your Roku device could show that it is off despite being switched on the Home App.
- Update the systems to try to solve the issue.
- Also, check if your Fast TV option is on and set it as highlighted above. It would help if you connect your Roku TV to the HDMI via a HDMI-CEC port.
- Finally, factory reset your Roku device if none of the measures we have covered above doesn’t work. It’s also straightforward; you will do it from the Settings button. Next, choose System, Advanced System Settings, and Factory Reset.
Why will my TV, not power on or off use HomeKit?
It’s simple, confirm if your TV is compatible with a HDMI-CEC cable.
Some TVs don’t support CEC systems, so check if yours has this feature. In addition, it is important to activate the 1-touch play functionality.
Here are the steps: Click Settings > System > Control Other Device > 1-touch play.
Conclusion
Smart devices are the new trend. Today, you can outright control your Roku TV from your Apple device thanks to the Homekit Application.
We have covered all you need to do in your guide. Hence, take action, and control everything on Roku from your iPhone.
